
Leaning on wall
A wall can add structure to senior portrait poses without making the frame feel stiff. It gives you a light point of support while leaving room to adjust your stance and expression. Choose a clean section of wall that suits the location and keeps attention on your face and clothing. A gentle lean works for prom photo poses and other portraits when the surface is stable and the outfit allows comfortable movement.
Set a Light Point of Support
Use the wall as a reference, not something to brace against. Bring your upper back or one shoulder close enough to make light contact, then let your posture stay upright and easy. The contact should feel almost weightless; pressing firmly can flatten the shoulder line and make your torso look rigid.
Try placing just the back of one shoulder against the surface, or let a small area of your upper back touch it. Keep your breathing comfortable and check that your clothing is not bunching where it meets the wall. This restrained contact creates a relaxed frame while keeping your body free to turn slightly toward the camera.
Place Shoulders and Feet
Set your stance in a few small adjustments, then pause long enough to notice any tightness before the portrait is taken.
- Stand a few inches from the wall so your body has room to settle, rather than leaning your full weight into the surface.
- Angle your shoulders slightly instead of holding them square to the camera; keep them level and let the arms hang naturally.
- Place one foot a little forward and keep both feet comfortably apart, with the front foot pointing toward the camera or slightly outward.
- Keep your knees relaxed and distribute your weight evenly or favor the leg farther from the wall without locking either knee.
Check for a raised shoulder, clenched hands, or a stiff knee, then release only the tense area. This stance suits a structured outfit against a clean wall or a softer look in an outdoor setting.
Walking away
A walking-away frame puts the route and setting in view while keeping attention on your movement. It can add variety to senior portrait poses without relying on a direct-to-camera expression. The strongest composition gives your figure room to move and a clear direction through the frame. Small choices in framing, clothing, and head position help the image feel intentional rather than staged.
Build the Walking-Away Frame
Photograph from behind as you follow a visible path through the frame. Place yourself near one side or in the lower third, then leave open space ahead in the direction you are moving. This negative space gives the viewer’s eye somewhere to travel and makes the route feel longer.
Use a natural stride rather than a long, exaggerated step: let one foot lift as the opposite arm swings slightly. Keep a little space around your outline so your shoulders and legs do not merge with trees, signs, or other background shapes. A path, row of trees, or receding fence can reinforce the movement when its lines lead into the distance. For poses for graduation photos, a campus walkway or open garden path can provide that direction without competing with your figure.
Turn the Head and Use the Setting
A head turn can reveal a profile or part of your face, adding connection without changing the rear-facing composition. Let the setting and outfit guide how much you turn and how freely you can walk.
- Turn your head only when a visible profile adds expression; keep your shoulders aimed along the route so the walking-away line remains clear.
- For a long skirt, coat, or gown, shorten the stride enough to keep the hem from catching under your shoes or obscuring your legs.
- Light fabric may shift with each step; allow a small, natural sweep rather than forcing a dramatic flare that distracts from your silhouette.
- Choose footwear you can walk in steadily, since a stable step keeps your posture and stride even across several frames.
- On a narrow path, stay near its center; on a broad path, offset your position so visible edges and background details lead forward.
Keep signs, branches, and bright background details from appearing to grow out of your head or shoulders. This composition works especially well when a path, flowing outfit, or scenic background gives your movement a clear destination.
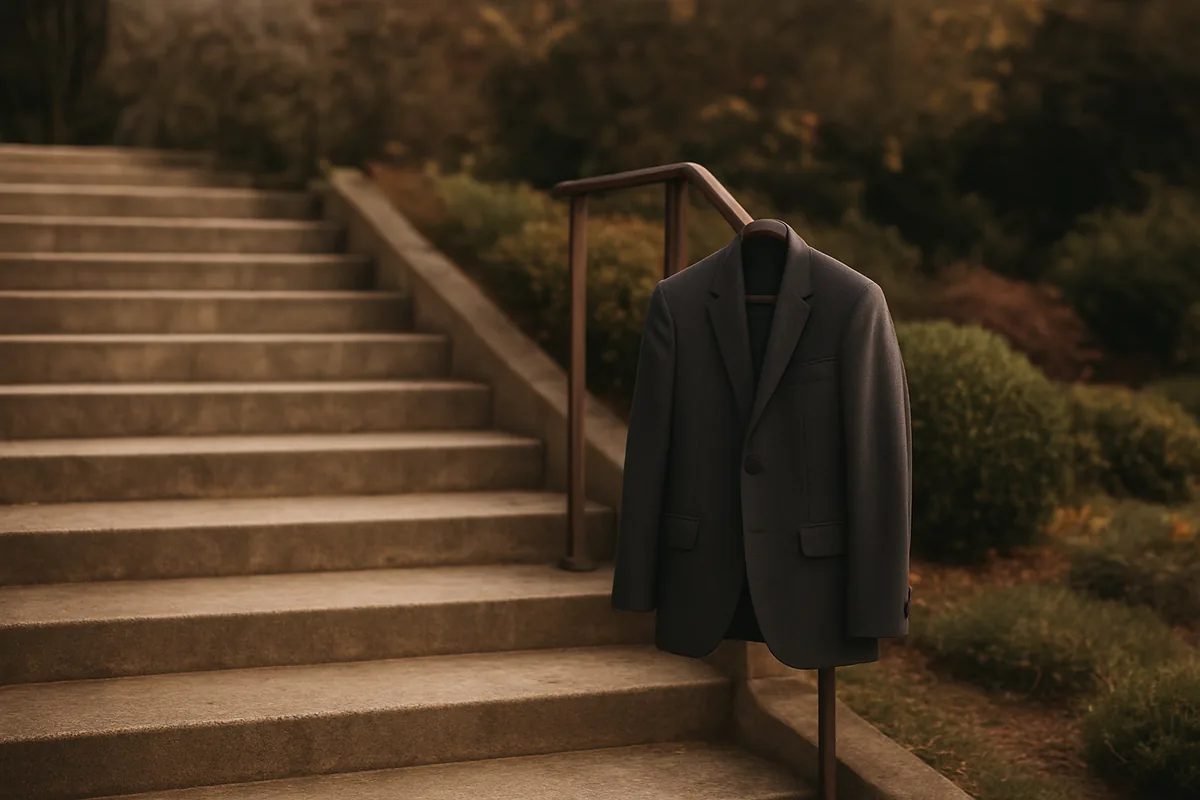
Sitting on steps
Steps create visible levels that add structure to seated senior portrait poses without requiring a complicated setup. Choose a tread that lets you settle naturally and hold still while the camera is framed. Small adjustments to leg angles, hand placement, and the space around you can make the pose look balanced. Keep your expression and posture comfortable rather than forcing a formal shape.
Choose a Comfortable Seat
Pick a broad, stable step with enough depth to support your seat without pressing an edge into your legs. A firm, even tread makes it easier to stay still through several frames; test the position briefly before settling into the portrait. Step height matters: a low step keeps your knees closer to a natural bend, while a tall riser can lift them and make your torso feel compressed. If your feet can rest on the step below, use that level to reduce strain.
Consider how your outfit falls when seated. Smooth a skirt or jacket so fabric stays in place and provides the coverage you want, and check that trouser fabric is not pulled tightly across the knees. Shift your hips slightly if the seat feels cramped, then lengthen your spine without stiffening your shoulders. A comfortable position is easier to maintain for repeated exposures and supports natural facial expressions for portraits.
Arrange Legs, Hands, and Frame
Once you have a comfortable seat, make a few deliberate adjustments so your silhouette reads clearly in the frame. Try one of these options:
- Angle both knees slightly to one side rather than pointing them straight at the camera; this creates a clear leg line while keeping your seated position stable.
- Place one foot a little farther down the steps than the other, with both feet supported; the stagger adds depth without making the pose look unbalanced.
- Rest your hands lightly on your upper thigh or place one hand beside you on the tread; keep fingers relaxed instead of gripping fabric or stone.
- Sit tall from the hips, let your shoulders settle, and keep your chin level; a small forward lean from the waist can make your face feel engaged.
- Leave visible space beside your elbows and knees, and ask for a frame that includes the feet or clearly crops above them rather than cutting at an ankle.
Check that the steps remain visible enough to explain your position and that no limb is clipped at a joint. A supported seat, staggered legs, and clean framing make steps a comfortable choice for a balanced seated portrait.
Hands in pockets
Hands-in-pockets poses can give senior and prom portraits a composed, easygoing feel without requiring a complicated stance. Pocket depth and placement affect how much of each hand can disappear while the arms still look natural. For senior portrait poses, a slight bend at the elbows helps keep the jacket or shirt from pulling tightly across the torso. Choose the version that suits the garment’s cut and leaves the outline of the outfit clear.
Keep the Arms Visible
Slide only part of one hand into a pocket, leaving the wrist and forearm visible from the elbow down. This small opening keeps the arm’s shape readable and avoids making the hand look as if it has vanished into the clothing. Let the shoulder settle naturally rather than lifting it to hold the pose; a raised shoulder can make the neckline look uneven.
If both pockets suit the outfit, place the hands in lightly and keep the thumbs or knuckles near the openings. Leave a gentle bend at each elbow instead of pressing the arms against the sides. For a fitted blazer, shallow insertion prevents the fabric from pulling across the buttons; with a looser jacket, a little more hand can fit without widening the silhouette. Check the frame at waist and chest level to ensure the pose reads as deliberate, not compressed or overly casual.
Use Pocket Alternatives
When pockets are absent, shallow, or bulky, use a hand position that keeps the arms relaxed and the outfit’s lines visible:
- Let both hands rest beside the hips, with a small gap between the upper arms and torso so the outline stays distinct in a waist-up frame.
- Hold the jacket edge lightly between thumb and fingers; keep the grip loose so the lapel lies flat instead of bunching into a narrow fold.
- Loosely clasp the hands in front of the lower abdomen, with fingers resting together rather than interlaced tightly or pressed against the clothing.
- Place one hand at the waist with the elbow angled slightly outward, keeping the other arm relaxed at the side for an asymmetrical, balanced line.
For prom photo poses, match the hand position to the garment: a jacket edge works with a structured layer, while relaxed hands suit a clean, pocket-free outfit. The best choice is the one that fits the pocket design and garment cut without pulling or bunching the fabric.
Looking over shoulder
A look over your shoulder adds a sense of movement to senior portrait poses and prom photo poses without requiring a dramatic pose. The effect comes from a small turn, a relaxed neck, and a clear view of your face. Use the angle to direct attention toward your expression or connect your portrait with the surrounding scene. A comfortable range of motion matters more than twisting far enough to create a striking silhouette.
Turn Without Tension
Begin with your torso facing slightly away from the camera, then turn your head back toward the lens. A quarter turn is a useful starting point: it creates visible shoulder depth while keeping your face easy to see. Adjust the angle by a few degrees at a time rather than forcing a deep twist.
Keep both shoulders low and let the one nearest the camera sit naturally instead of lifting it toward your ear. Turn only as far as you can while keeping your neck comfortable and your breathing easy. If your chin pulls sharply toward your shoulder or your back arches, reduce the rotation and reset your stance. A gentle torso-first turn gives the pose shape; a relaxed head turn finishes it.
Set the Gaze and Posture
Choose where your eyes land to shape the mood of the portrait. Keep your chin level or lower it slightly, and check that your shoulders remain aligned rather than hunching as you turn.
- Look at the camera: Direct eye contact feels open and assured; turn only enough to keep both eyes visible and your nose from hiding the far cheek.
- Look just beside the lens: Aim your eyes a few inches to one side of the camera for a softer, more reflective expression without losing facial detail.
- Look into the scene: Follow a visible feature, such as a path or window, when you want the setting to carry part of the portrait’s mood.
- Set your chin: Keep it level for a straightforward expression, or lower it a little for a quieter look; avoid pressing it into your shoulder.
- Check your shoulders: Keep them low and let the turned shoulder sit slightly forward, but leave enough space for both eyes and the outline of your jaw.
For natural facial expressions for portraits, choose a gaze that feels comfortable and hold the turn within your easy range.
Seated with props
A seated portrait with a personal or session-related object can add a specific detail to senior portrait poses without making the object the main subject. A book, instrument, or other meaningful item can suggest an interest, while a simple session prop can add shape or color. Choose a position that suits the seat and keeps your posture comfortable. The aim is a clear portrait in which your expression remains the first thing viewers notice.
Choose and Position a Prop
Choose an object that has a clear connection to your interests or the portrait setting; one item is usually enough to keep the composition focused. Rest it across your lap, hold it beside your thigh, or place it on the seat close to you. These positions make the object part of the scene without requiring you to pose around it. Keep your grip light: let your fingers curve naturally around an edge or handle rather than clenching, and avoid pressing the item tightly against your body. Turn its most recognizable side slightly toward the camera, but keep your shoulders and face directed comfortably toward the lens. If the object needs two hands for support, let one hand carry most of its weight and use the other as a loose stabilizer. The result should feel like a seated portrait, not a product display.
Keep the Subject Clear in Frame
Check the prop’s size against your seated frame: an item that extends well beyond your torso can dominate a waist-up portrait, while a smaller object may disappear if held low. Keep it below shoulder level and leave a visible gap from your face so it does not cover your jaw, clothing details, or expression. Place your hands where they remain easy to read, such as along the object’s edge rather than spread across its center. In a full seated composition, position the item near your lap or beside your hip and leave enough space around your arms to preserve your outline. Ask for a test frame, then check that the object and your body are balanced from side to side; shifting the prop a few inches can open the frame. A prop adds context best when its shape is recognizable but your face and silhouette stay unobstructed.
Choose a Pose for the Outfit and Location
The strongest pose fits the clothes, the space available, and the mood you want in the finished portrait. A structured outfit may read best in a still frame, while fabric that moves can add energy to a walking image. Check the ground and any seating before choosing among senior portrait poses or prom photo poses. The comparison below helps you match each option to practical conditions rather than forcing one pose into every setting.
Match the Pose to Clothing and Space
Compare the outfit’s shape and movement with the room you have; the space estimates below are practical starting points, not fixed requirements. Consider whether the setting supports a clean frame and the portrait style you want.
| Pose | Clothing and fit | Space and surface | Best fit for the portrait |
|---|---|---|---|
| Standing | A fitted suit, structured dress, or outfit with a defined waist usually holds its shape well without fabric movement. | About 1 meter of clear floor width is often enough; choose level, uncluttered ground. | Use it for a composed, formal image where the outfit’s lines and overall silhouette should remain clear. |
| Walking | Choose this when a skirt, jacket, or loose layer can move naturally; very restrictive clothing may limit the stride. | Allow roughly 2–3 meters of clear path and check that the surface is even throughout. | It suits a livelier frame when the location has depth and the clothing benefits from visible movement. |
| Seated | Choose clothing that stays comfortable at the waist and knees when bent; a stiff or short hem may feel restrictive. | A stable chair, bench, or broad step should fit the frame, with enough room around it for the camera view. | It works for a quieter, more informal portrait, especially when the setting includes suitable seating. |
If the outfit or location makes one option awkward, switch poses rather than sacrificing comfort or a clean composition. A good match lets the clothing and setting support the portrait instead of competing with it.
Select by Portrait Style
A composed standing portrait is a strong choice when you want a formal result, the outfit keeps its shape comfortably, and the location offers a clear background. This option suits structured clothing and settings with limited room, such as a narrow garden path or a simple indoor backdrop. It keeps attention on the overall look without relying on movement.
Choose a walking frame when the clothing allows an easy stride and the location provides a clear path of about 2–3 meters. Moving fabric or an open outdoor setting can give the image a more spontaneous mood; use a different option if the ground is uneven or the outfit restricts movement.
A relaxed seated frame fits a less formal style when a stable seat is available and the outfit remains comfortable while seated. For a balanced choice, let comfort and the location decide first, then match the pose to the level of formality you want.