
Plan the Group Arrangement
A clear arrangement starts with the people, the space they will occupy, and the frame the camera can capture. Decide on a basic structure before inviting everyone into position, so people are not left waiting while you solve the layout. Group size affects how many rows may be needed, while room width and depth limit where those rows can sit or stand. The camera’s orientation and framing also determine how much room remains at the edges. A quick check of the actual frame helps you choose a practical setup before posing begins.
Match the Layout to the Group
Before choosing a layout for family photo poses, compare the number of people with the usable width, depth, and camera distance. These details determine whether one row will fit or whether the group needs additional rows, and how much depth those rows can occupy.
- Group size: A small group may fit in one row, while a large family photo pose may need more rows; estimate the people count before choosing the layout.
- Usable width: Measure the clear floor or outdoor area between obstacles. Limited width can make a single row impractical and require a deeper arrangement.
- Available depth: Check how far people can extend from the front to the back of the space. Little depth limits the number of rows you can use.
- Camera distance: Note how far the camera can stand from the group. A short distance may favor fewer rows and a narrower arrangement that fits the view.
- Nearby boundaries: Account for walls, furniture, trees, or pathways. These can restrict the outer edges or prevent a back row from standing farther behind.
Use the tightest constraint as your starting point: a group that cannot spread wide may need more depth, while a shallow space calls for fewer rows. Keep the arrangement within the area the camera can frame.
Choose a Frame Before Posing
Choose portrait or landscape orientation before placing anyone. A landscape frame gives a wide group more horizontal room, which can reduce the need to extend the arrangement into additional rows. Portrait orientation provides more vertical space but less width, so a broad group may need a tighter layout or more depth. The choice depends on the people and the available space, not on a fixed rule. Headroom and edge space affect where the outer people can stand or sit. Leave enough room above the tallest heads to avoid a cramped crop, and keep faces and shoulders away from the extreme left and right edges. If the frame cuts off an outer person or leaves large unused areas, adjust the camera position or revise the group’s footprint before people settle into place. Make a simple frame check from the camera position: hold the camera at the intended height, set the orientation, and look at the full view. Check the top and side edges, then confirm that the proposed arrangement fits without relying on a crop that removes heads, shoulders, or outer members. For family portraits with teenagers or several generations, make this check with the full group’s likely width and height in mind. The frame should guide the arrangement, rather than forcing last-minute changes.
Set the Arrangement in Advance
Before inviting people into position, decide where the center of the group will sit within the frame and which people belong near that center. For multi-generational family portraits, you might place the relatives who anchor the gathering centrally, then leave clear space for the remaining members on either side or behind them. Keep the plan flexible enough to account for the group’s actual size. Mark the intended outer edges using fixed points in the space, such as the ends of a bench or a clear section of wall. This gives you a quick width check before everyone gathers. Use a simple layout with only the rows the space requires; a complicated plan takes longer to explain and adjust. Once the central area and boundaries are set, you can bring people into position without rebuilding the arrangement from scratch.
Arrange People by Height and Spacing
Height variation and comfortable spacing help a family group read clearly in a single frame, whether five people gather in a living room or a larger group meets outdoors. A mix of seated and standing positions creates different eye levels without requiring anyone to take a position that feels uncomfortable. Leave enough room between people for natural posture, and use staggered depth so the arrangement has dimension. Before the shutter is released, inspect the camera view from edge to edge to confirm every face is visible.
Combine Standing and Seated Positions
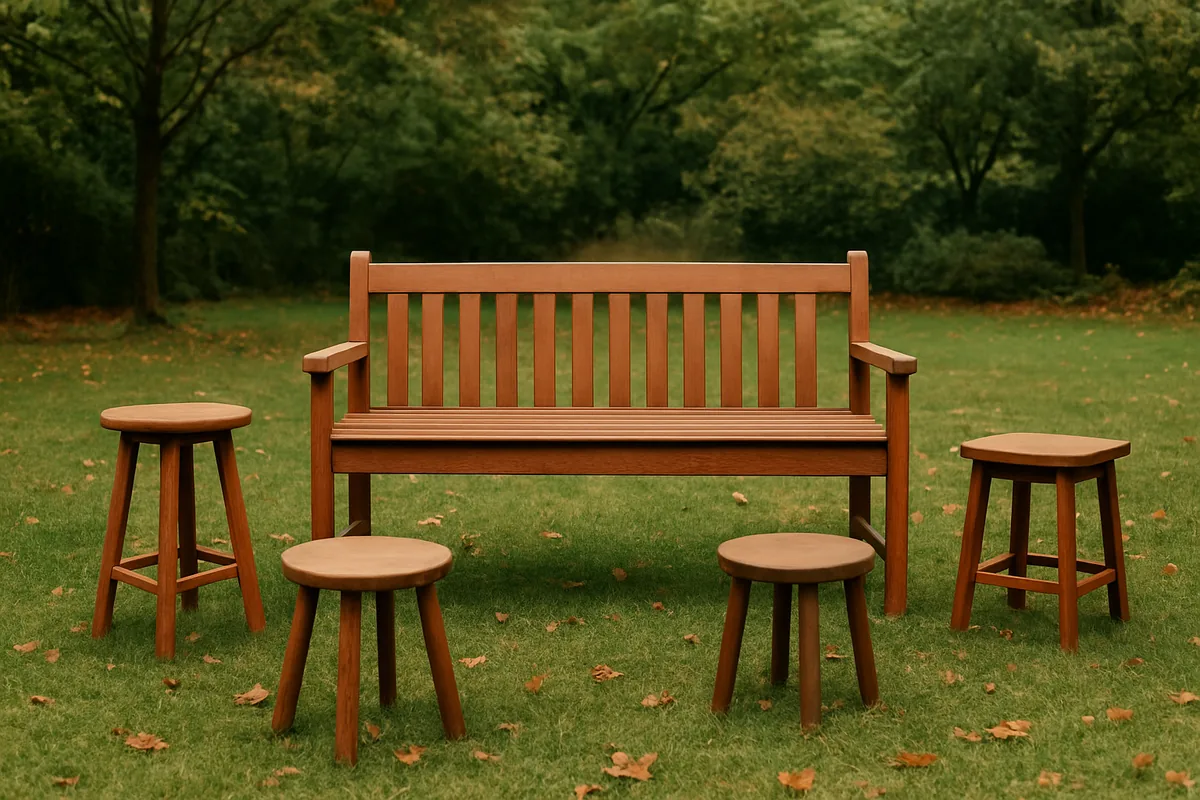
Mixing seated and standing positions gives a group more than one eye level, so the composition feels layered rather than like a single horizontal line. In family photo poses, a chair, bench, or low step can create a stable lower position; someone may also choose to sit simply because it feels more comfortable. Avoid assigning positions based on assumptions about age, relationship, or ability.
Place seated people near the center or slightly forward, then position standing people behind and to either side. Distribute visual weight across the frame: if two people sit together on one end of a bench, balance that area with standing figures on the other side rather than leaving the opposite half sparse. A bench works well when several people can sit at a similar level, while separate chairs allow more flexibility in spacing and orientation.
Keep the seated person’s posture relaxed, with feet resting naturally and hands placed comfortably on a lap or chair arm. Standing people can turn their shoulders slightly toward the group instead of facing the camera in a rigid line. For multi-generational family portraits, this combination offers varied levels without making any one person’s position seem like a statement about their role or capacity.
Create Comfortable Gaps and Staggered Rows
Use visible breathing room and small changes in depth to keep a group from looking compressed. Treat the following spacing checks as flexible starting points, adjusting them to each person’s comfort and the available space.
- Look for shoulder overlap; shift people sideways until each shoulder has a clear outline, rather than letting adjacent bodies merge into one shape.
- Start with roughly 4–8 inches between people who are comfortable standing close, then widen the gap if someone prefers more personal space.
- Stagger front and back positions by about half a step, roughly 12–18 inches, so the group has depth without creating a separate, distant row.
- Leave more room around seated positions when knees, chair arms, or a bench need space; avoid pressing people together to fill a narrow gap.
- Keep gaps visually balanced across the group, but do not force identical distances when different body positions or preferences call for adjustment.
- For outdoor family photo poses, account for uneven ground by letting people choose stable footing before fine-tuning the distance between them.
Check the arrangement from the camera position: a gap that looks generous from beside the group may appear much wider in the photograph. Make small shifts of a few inches rather than asking everyone to reset, and preserve any space a person has chosen for comfort.
Check Every Face in the Frame
Before taking the photo, check the camera display or viewfinder rather than relying on the arrangement as seen from beside the group. Scan from left to right, then top to bottom, and confirm that each face is visible, especially when people stand at different depths. Look for a head or shoulder covering another person’s eyes, nose, or mouth.
If a face is partly hidden, shift one person a few inches sideways or forward and look at the camera view again. Check the frame edges as carefully as the center: a person near either side may be cropped at the shoulder or placed too close to the boundary. Repeat the scan after each adjustment, then take the photograph once every face has clear space around it.
Pose Families in Rows and Clusters
A row, shallow arc, or compact cluster gives a family portrait a different outline, even when everyone faces the same camera. Choose the shape around the number of people, the usable width of the location, and whether the background has strong lines or visual detail. A straight row can feel composed and formal, while a curve softens the line and a cluster creates a tighter, more informal frame. These family photo poses work best when the arrangement fits the setting rather than forcing every group into one shape.
Choose a Row, Arc, or Cluster
Use the setting and the group’s outline to choose a starting shape. The ranges below are practical guides, not fixed limits; the available width and background can change which arrangement feels balanced.
| Shape | Group size | Space and background | Desired formality and best use |
|---|---|---|---|
| Straight row | About 2–6 people | Works in a narrow area, such as a porch or a clear stretch of wall; suits backgrounds with strong horizontal lines. | Creates a neat, formal look for a simple portrait when a broad, curved outline would compete with the setting. |
| Shallow arc | About 5–12 people | Needs more width than a row and some room in front; suits open lawns, broad paths, or a landscape with a distant horizon. | Feels orderly without looking as linear as a row; useful for large family photo poses when the group can spread gently across the frame. |
| Compact cluster | About 3–8 people | Fits a smaller footprint and works against a textured garden, tree line, or plain backdrop that does not distract from a close grouping. | Gives the portrait a relaxed, intimate feel; suits a reunion or a small space where a long row would look disconnected. |
For a long, uninterrupted background, a row or arc keeps the composition easy to read. With a detailed backdrop or limited width, a compact cluster can make the people—not the empty space—the main visual shape.
Place People Without a Rigid Feel
Start by choosing a central position in the frame, then place one person or a pair there according to the balance of the group and the available background. Add the next people outward on both sides, adjusting the arc or cluster as the outline develops instead of filling one side completely before the other. This gives you a flexible base for family portrait ideas without assigning anyone a position based on age or relationship.
Once the main positions are set, vary each person’s stance slightly: one can face the camera squarely while another turns a shoulder a little toward the center. Small changes in foot direction, weight shift, and shoulder angle create a more natural rhythm than having everyone stand identically. Keep each person’s body comfortable and allow personal space; do not rely on touching to connect the group.
Make adjustments in small increments. If one part of the group feels too uniform, turn one or two shoulders by a few degrees or change a stance rather than moving the entire arrangement. Pause after each change and look at the outline from the camera position. This gradual method keeps the group composed while leaving room for individual preferences about posture and proximity.
Add Natural Interaction
Natural interaction gives family photo poses a sense of connection without asking anyone to perform. Use one clear prompt at a time, then leave room for people to respond in their own way. Small gestures, a shared look, or a pause can feel more genuine than a fixed smile. Keep every invitation optional so the group can stay comfortable.
Use Simple Shared Prompts
Give the group one easy action rather than several instructions at once. A specific cue helps people know where to direct their attention while keeping the moment relaxed.
- Ask everyone to look toward one person in the group for a moment, then hold that shared glance while you make the photograph.
- Invite anyone who is comfortable to sit near someone else, leaving each person free to choose how much distance feels right.
- Suggest that people turn slightly toward the group, as if listening to a familiar story, instead of looking straight at the camera.
- Ask two or three people to share a quiet moment, such as remembering a pleasant outing, while others simply watch or look on.
- Offer a light prompt to exchange a small wave or nod, giving everyone a clear action that does not require touch or conversation.
After giving the cue, wait a few seconds for people to settle into it. Pause for the frame when attention naturally gathers, rather than interrupting the response with another direction.
Keep Contact Comfortable Across Ages
Treat physical contact as an option, not a requirement. You can invite people to stand, sit, or turn near one another, then make clear that they may choose their own distance. A shared glance, a small gesture, or simply facing the same direction can suggest connection without touching. This approach works for family portraits with teenagers as well as groups that include younger children or older relatives. Offer alternatives in the same prompt: “You can sit beside them, stay where you are, or turn toward them.” That gives each person a way to participate without having to explain a preference. For multi-generational family portraits, avoid assigning a gesture based only on someone’s age or assumed relationship; ask what feels comfortable and adapt the cue to the answer. Pay attention to energy as well as distance. If someone is tired, let them remain seated or take part through a glance; if a younger person is restless, give them a simple action such as looking toward a relative. Keep the invitation brief, allow a response, and accept a still pose as participation. Natural poses for parents and children can include closeness, but they can also show connection through attention alone.
Allow a Quiet Moment
A photograph does not need a joke or a big expression to feel warm. Ask the group to pause and notice one another, or invite two people to exchange a brief glance. For a seated portrait, you might say, “Take a quiet moment together,” then stop directing for a few seconds. Give people time to respond before making the frame; a short pause often lets shoulders settle and expressions soften. Photograph the moment as it happens, whether the result is a shared look, a small smile, or comfortable silence. Do not ask anyone to repeat an expression that has already passed.
Fix Common Group Photo Issues
Small changes can solve the most distracting problems in family photo poses without rebuilding the entire arrangement. Check the camera view for faces, gaps, posture, and eye direction, since these can look different from where you are standing. Correct one issue at a time so the group can respond without losing its place. A brief pause between adjustments keeps the final frame composed and comfortable.
Correct Blocked Faces and Uneven Spacing
A blocked face or an oversized gap can make an otherwise balanced group portrait feel unfinished. Use the camera view as your reference, and make one small adjustment before checking the frame again.
Match the visible problem to a specific change:
- When one face disappears behind another, ask the person in front to shift a few inches sideways; a small offset can open a clear sightline.
- If a face is still hidden, invite the person behind to step slightly forward or toward the nearest open space, then check that both faces remain visible.
- For an uneven gap, ask the people on either side to move toward its center in small increments, keeping a similar amount of space between neighboring shoulders.
- If one side looks crowded, spread that section across the available width by shifting people outward, while keeping the opposite side from becoming noticeably sparse.
- After each adjustment, review the full frame at the camera or screen; confirm that faces are unobstructed and the outermost people remain inside the composition.
With a large group, check the top and bottom edges as well as the center: a change that clears one face can push someone else out of frame. For family photo poses, the best correction is usually the smallest one that makes every face visible and restores a consistent rhythm of spacing.
Relax Stiff Posture
Locked knees, shoulders lifted toward the ears, and arms held straight against the sides are common signs of stiffness. They can make a seated or standing portrait look tense, even when everyone is facing the camera. Give each person a moment to reset their own posture rather than touching or physically repositioning anyone.
Ask the group to soften their knees, let their shoulders drop, and take one easy breath before the next frame. A small shift of weight from one foot to the other can loosen a rigid stance; seated people can settle comfortably before placing their hands where they feel natural. If arms look fixed, suggest leaving a little space between elbows and the torso or resting hands loosely in the lap. Keep the reset brief, then take the picture while the shoulders remain relaxed.
Align Eye Lines and Attention
Choose one camera lens or one shared focal point before taking the picture. If several cameras are present, tell the group which one to look at; a clear instruction prevents different eye lines from appearing in the same frame. For a portrait with a photographer beside the camera, use that person’s face as the shared point.
Give a short count-in, such as “Ready, three, two, one,” and release the shutter on “one.” This gives people time to look up without holding a smile through a long countdown. If someone looks elsewhere, pause instead of taking a rushed frame, repeat the focal point, and allow a moment for attention to return. Check the preview for eyes directed toward the same lens or point, then repeat the count-in if one person is still looking away.