
Walking together
Walking gives natural couple photo poses a sense of motion without requiring elaborate direction. A short stretch of path is enough: you can repeat the same walk while changing your pace, gaze, or distance from each other. These small adjustments create varied frames while keeping your attention on one shared activity. Choose a route with enough room to move comfortably and let the photographer guide the timing.
Set a relaxed pace
Start with your usual walking speed rather than a dramatic stride. Take three or four comfortable steps, then let the photographer capture the movement; a pace you can repeat makes it easier to keep your expressions and posture relaxed. Keep your arms moving naturally, and avoid matching every step exactly if that feels stiff.
To begin, stand side by side, take a breath, and set off on a simple cue. When it is time to stop, ease your steps over one or two paces instead of freezing mid-stride. A small change, such as taking a slightly longer step or briefly slowing down, adds motion without making the walk feel performed. Reset at the same starting point for another frame, so the photographer can capture a fresh moment without changing the basic action.
Vary gaze and spacing
Keep the walk the same and change where you look or how far apart you are. The path’s width and the room around you determine which arrangement feels natural and leaves space in the frame.
- On a narrow path, walk close enough for your shoulders to nearly meet, and look at each other to keep the frame connected without blocking the route.
- For a direct portrait, keep a comfortable gap between your shoulders and glance toward the camera for a few steps, then return your gaze to the path.
- Looking along the path gives the frame a clear direction; use close spacing when the trail is narrow or the background is visually busy.
- On a wider path, leave a small gap between you and look toward each other, allowing the photographer to show more of the setting around you.
- Where there is ample open space, widen the distance by a step or two and look ahead, keeping both partners visible within the broader scene.
Try one gaze and spacing combination for several steps before changing it, so each frame has a clear look. The best result comes from a pace and distance that suit the path, not from forcing a particular arrangement.
Forehead touch
A forehead touch brings two faces close while leaving room for a quiet, unforced expression. In natural couple photo poses, small changes in distance and direction can shift the image from tender to playful without changing the basic stance. Keep the contact light and let both partners choose a position that feels comfortable. These engagement photo poses work especially well when the couple can pause between adjustments and settle into the moment.
Set the distance and head angle
Have both partners stand close, with their shoulders turned slightly toward each other and enough space between their torsos to breathe comfortably. Ask them to lean in gradually rather than bringing their heads together at once. A light forehead contact is enough; pressing can tighten the jaw and make the pose look stiff. If their noses meet or their faces feel crowded, shift one partner a few inches to the side or have both turn their faces slightly outward.
Make head-angle changes in small increments: one person can tilt their chin down while the other keeps their face more level, then they can switch. A slight offset often gives the photographer a clearer view of both profiles than lining the faces up squarely. Check that neither partner is straining their neck or balancing awkwardly on their feet. Keep the contact gentle, then adjust the distance or angle until both partners feel at ease.
Adjust hands and gaze
Once the heads meet comfortably, give each partner one simple hand placement to start: a hand resting lightly on the other’s shoulder, upper arm, or waist, or the couple’s hands joined between them. Relaxed fingers and a loose wrist read more naturally than gripping fabric or squeezing an arm. Try one placement at a time so the hands do not compete with the faces for attention.
Closed eyes create a quiet, intimate variation; ask both partners to close them only after the forehead contact feels settled. A downward gaze keeps the expression soft while showing the line of the cheeks, while looking toward each other makes the connection more direct. Let them change gaze without moving their feet, then pause for a frame after each adjustment. Keep the touch gentle and make small changes until both partners feel at ease.
Back hug
A back hug can create intimate engagement portraits while keeping both partners connected to the camera. Small changes in body angle and arm placement help show each face instead of hiding one behind a shoulder. For natural couple photo poses, keep the embrace close enough to feel affectionate but loose enough for comfortable movement. Use the arrangement as a starting point, then make small adjustments to suit each couple.
Position both partners
Start with the partner who feels comfortable giving the embrace standing behind, then place the other partner slightly forward and offset rather than directly in front.
- Choose who stands behind based on comfort, not height; a small sideways shift lets the rear partner’s face appear beside the front partner’s head.
- Turn the front partner’s chest about a quarter-turn toward the camera, while the rear partner angles their torso toward their partner.
- Rest one forearm lightly at the waist and the other hand near the lower ribs, with elbows bent softly instead of stretched across the body.
- For a simpler hold, bring both hands together at the front partner’s hip, below the waistline and clear of the face.
- Let the front partner rest a hand on the embracing arm, fingers loose, then angle both heads slightly toward the camera.
Leave a little space between cheeks so both faces read clearly, and keep the embrace easy to adjust.
Keep faces and shoulders relaxed
Ask both partners to lower their shoulders before settling into the pose; a slow exhale can release the upward tension that often appears when arms wrap around the torso. Keep the hold light enough that the front partner can breathe and turn their head without resistance. Arms crossed tightly over the chest can look stiff and obscure the line of the clothing, so let the forearms curve naturally around the waist instead.
If one face disappears, shift the rear partner a few inches to one side and check the camera-facing angle again. The front partner can turn their chin slightly toward the lens, while the rear partner brings their face forward beside the other person’s temple rather than leaning over the shoulder. Make the final adjustment to the angle and arm position until both faces are clear and shoulders remain relaxed.
Sitting close
A seated portrait gives couples a steady pause within an engagement session. It can feel intimate without requiring a dramatic gesture or a complicated pose. Small changes in body direction make a visible difference in how connected the couple appears. Choose a seat or surface that lets both partners settle comfortably. These natural couple photo poses work best when the frame reflects how the couple already likes to sit together.
Choose a seated angle
Sitting side by side creates a calm, shared line through the frame. Keep both torsos generally facing forward, then let the shoulders meet lightly; this shows both faces clearly and preserves a little breathing room between the bodies. It suits a portrait where expressions matter more than a close embrace. For a more connected look, turn each partner slightly toward the other, rather than twisting only the head. The angled shoulders bring their faces closer in the composition and reduce the visible gap between them. A small turn is usually enough: both profiles remain readable, while the nearer shoulders can touch naturally. Check the camera view for a hidden face, especially when one partner sits behind the other. For intimate engagement portraits, choose the angle that keeps both expressions visible and lets the couple hold the position without straining their backs or necks.
Place hands and use the setting
- Rest one hand loosely on the lap, with fingers curved rather than pressed together; this keeps the wrist soft and avoids a tense, clenched look.
- Place a hand beside a partner on the bench, leaving a small gap or allowing fingertips to meet for a quiet point of contact.
- Link hands lightly at the center of the lap, keeping elbows relaxed and shoulders down so the gesture reads as affectionate rather than formal.
- Use a step or low wall to support one forearm, checking that the wrist rests naturally and the shoulder does not lift toward the ear.
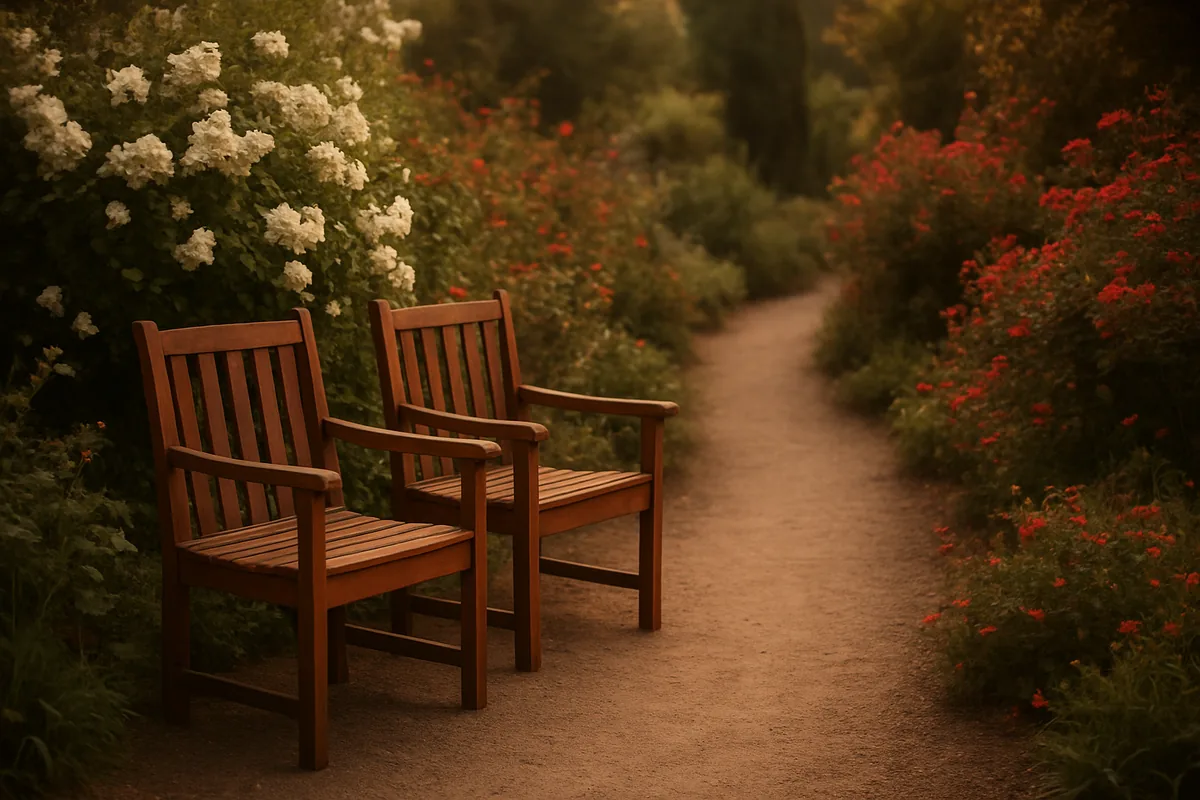
Let a bench back or nearby surface steady the body only if its height allows both partners to sit without reaching or slumping. These small supports can make candid couple photography feel settled while keeping attention on the couple, not the furniture. Choose the surface that allows relaxed hands and an easy posture; if it forces an uncomfortable position, sit elsewhere.
Laughing candid
A candid frame often starts with something the couple would genuinely say, not a request to smile. A shared topic gives expressions a reason to change while the photographer watches for pauses, glances, and small reactions. Use a detail in the setting or a familiar memory to keep the exchange specific. These prompts can make couple portraits feel less arranged without requiring a big reaction.
Prompt a shared interaction
Offer a prompt that invites both partners to respond to each other: ask what they first noticed about the venue, which song recalls a shared memory, or what they would point out to a friend. Rather than supplying a punchline, let the exchange develop for a few replies. Expressions may shift from thoughtfulness to a smile; one partner might answer with a gesture or glance. Keep the camera ready through those transitions, since listening can create as much visual interest as speaking. If conversation stalls, choose a simple task linked to a visible detail: ask them to compare colors, pick a nearby object, or invent a brief caption. Keep the prompt open-ended and comfortable for both, not a request to perform amusement on cue. Photograph several replies, not only a broad grin; a quiet smile or amused glance can carry the frame. Keep it easy and let expressions change naturally.
Choose a Pose for the Setting
The setting can determine whether movement or a closer composition feels natural. A clear path gives a couple room to walk without breaking stride, while a small room or crowded viewpoint may make that movement awkward. Clothing matters too: loose fabric can add motion, whereas a long or fitted outfit may restrict steps. Use the available space and each partner’s comfort to choose natural couple photo poses that feel at ease in the frame.
Match the pose to space and clothing
Check the usable area first: walking needs room for both partners to move and for the photographer to frame them. A close pose can work in a tighter spot, provided both partners are comfortable with the contact.
| Setting or clothing | Walking pose | Close-contact pose | Comfort check |
|---|---|---|---|
| Open path with roughly 2 m of clear width | Allow three or four unhurried steps side by side; the open route gives hems and jackets room to move. | Use when a stationary frame suits the location better than crossing the path. | Confirm there is room to walk without stepping around people or obstacles. |
| Small room, narrow viewpoint, or crowded area | Skip the walk if there is not space to take several steps without stopping or changing direction. | Stand close in a compact frame; keep the pose simple and avoid pressing against a wall or furniture. | Ask whether both partners are comfortable standing close in the available space. |
| Flowing skirt, coat, or loose sleeves | A few steps can show fabric movement; check that a long hem stays clear of the ground. | A still pose can keep loose fabric arranged without requiring a full stride. | Choose movement only if the outfit allows a comfortable, unrestricted step. |
| Fitted clothing or restrictive footwear | Use shorter steps on an even surface, or choose a stationary pose if walking feels constrained. | A close pose avoids repeated strides and can fit a limited frame. | Let the wearer’s ease of movement guide the choice, rather than forcing a walk. |
For engagement photo poses, a path or open patch of ground is usually the more practical choice for walking; a limited area favors a close pose when both partners welcome it. Match the pose to the available space and clothing so the image feels comfortable rather than staged.
Adapt and Vary the Poses
A single starting pose can create several distinct frames without a new setup. Small changes in spacing, body direction, face angle, and gaze shift the mood while keeping the interaction familiar. For engagement photo poses, these variations can move from open and relaxed to close and intimate. Agree on each change together so both partners remain comfortable and their expressions stay natural.
Vary distance, direction and gaze
Keep the starting pose, such as standing side by side with hands joined, and change one detail at a time. Each small adjustment gives the photographer a different composition without interrupting the connection.
- Bring your shoulders a little closer while keeping your joined hands in place; the tighter spacing creates a more intimate frame.
- Leave a small gap between your bodies but keep your hands together; the extra negative space makes the image feel more open.
- Turn both bodies slightly toward each other, then angle them back toward the camera for a more direct, balanced composition.
- Keep your bodies in place and turn your faces toward one another; then look past the camera in the same direction for a quieter mood.
- Have one partner face forward while the other turns inward; maintain the same hand position to make the change feel connected.
Changing only one or two details at a time makes the differences clear in the final set. These natural couple photo poses can give you a close portrait, an open frame, and a more conversational image from the same starting position.
Check comfort together
Before changing the distance or angle, ask your partner whether the adjustment feels comfortable. A simple check-in such as “closer or keep this space?” lets both people choose rather than guess. Make one change, hold it briefly, and notice whether either person looks tense or seems unsure. If the position feels awkward, pause and return to the arrangement that felt easy; there is no need to keep a variation that does not suit both of you. Choose only the small changes you both enjoy, and let comfort guide the final frames.